# First steps


(opens new window)
(opens new window)
Tests:
This adapter uses Sentry libraries to automatically report exceptions and code errors to developers. For more details and information on how to disable error reporting, see the Sentry plugin documentation (opens new window)! Sentry reporting is used from js-controller 3.0 onwards.
Control your ESP8266/ESP32 with simple but powerful configuration files created and managed by ESPHome. Native integration of the ESPHome managed device (including dashboard) through its native API and ensure that all data is synchronized (live event handling, no data polling ! 😃

This adapter uses the esphome-native-api (opens new window) with all credits to @Nafaya to interact with the ESPHome API (opens new window)!
# Requirements
* NodeJS >= 12.x
* Python >= 3.6, <4.0
* API is enabled in YAML
* For admin tabs (optional)
    * ESPHome Dashboard IP is provided in instance settings.
# Enable API in YAML
api:
  password: 'MyPassword'
# Example configuration
esphome:
  name: sensor_badkamer
  platform: ESP32
  board: esp-wrover-kit

wifi:
  use_address: 192.168.10.122
  ssid: "xxxxx"
  password: "xxxxxx"

# Enable ESPHome API
api:
    password: 'MyPassword'
# Activate i2c bus
i2c:
  sda: 21
  scl: 22
  scan: True
  id: bus_a

# Example configuration for bh1750
sensor:
  - platform: bh1750
    name: "Hal_Illuminance"
    address: 0x23
    measurement_time: 69
    update_interval: 10s

# Example configuration for an GPIO output
output:
  - platform: gpio
    pin: 12
    inverted: true
    id: gpio_12

# Example configuration linking a switch to the previous defined output
switch:
  - platform: output
    name: "Generic Output"
    output: 'gpio_12'
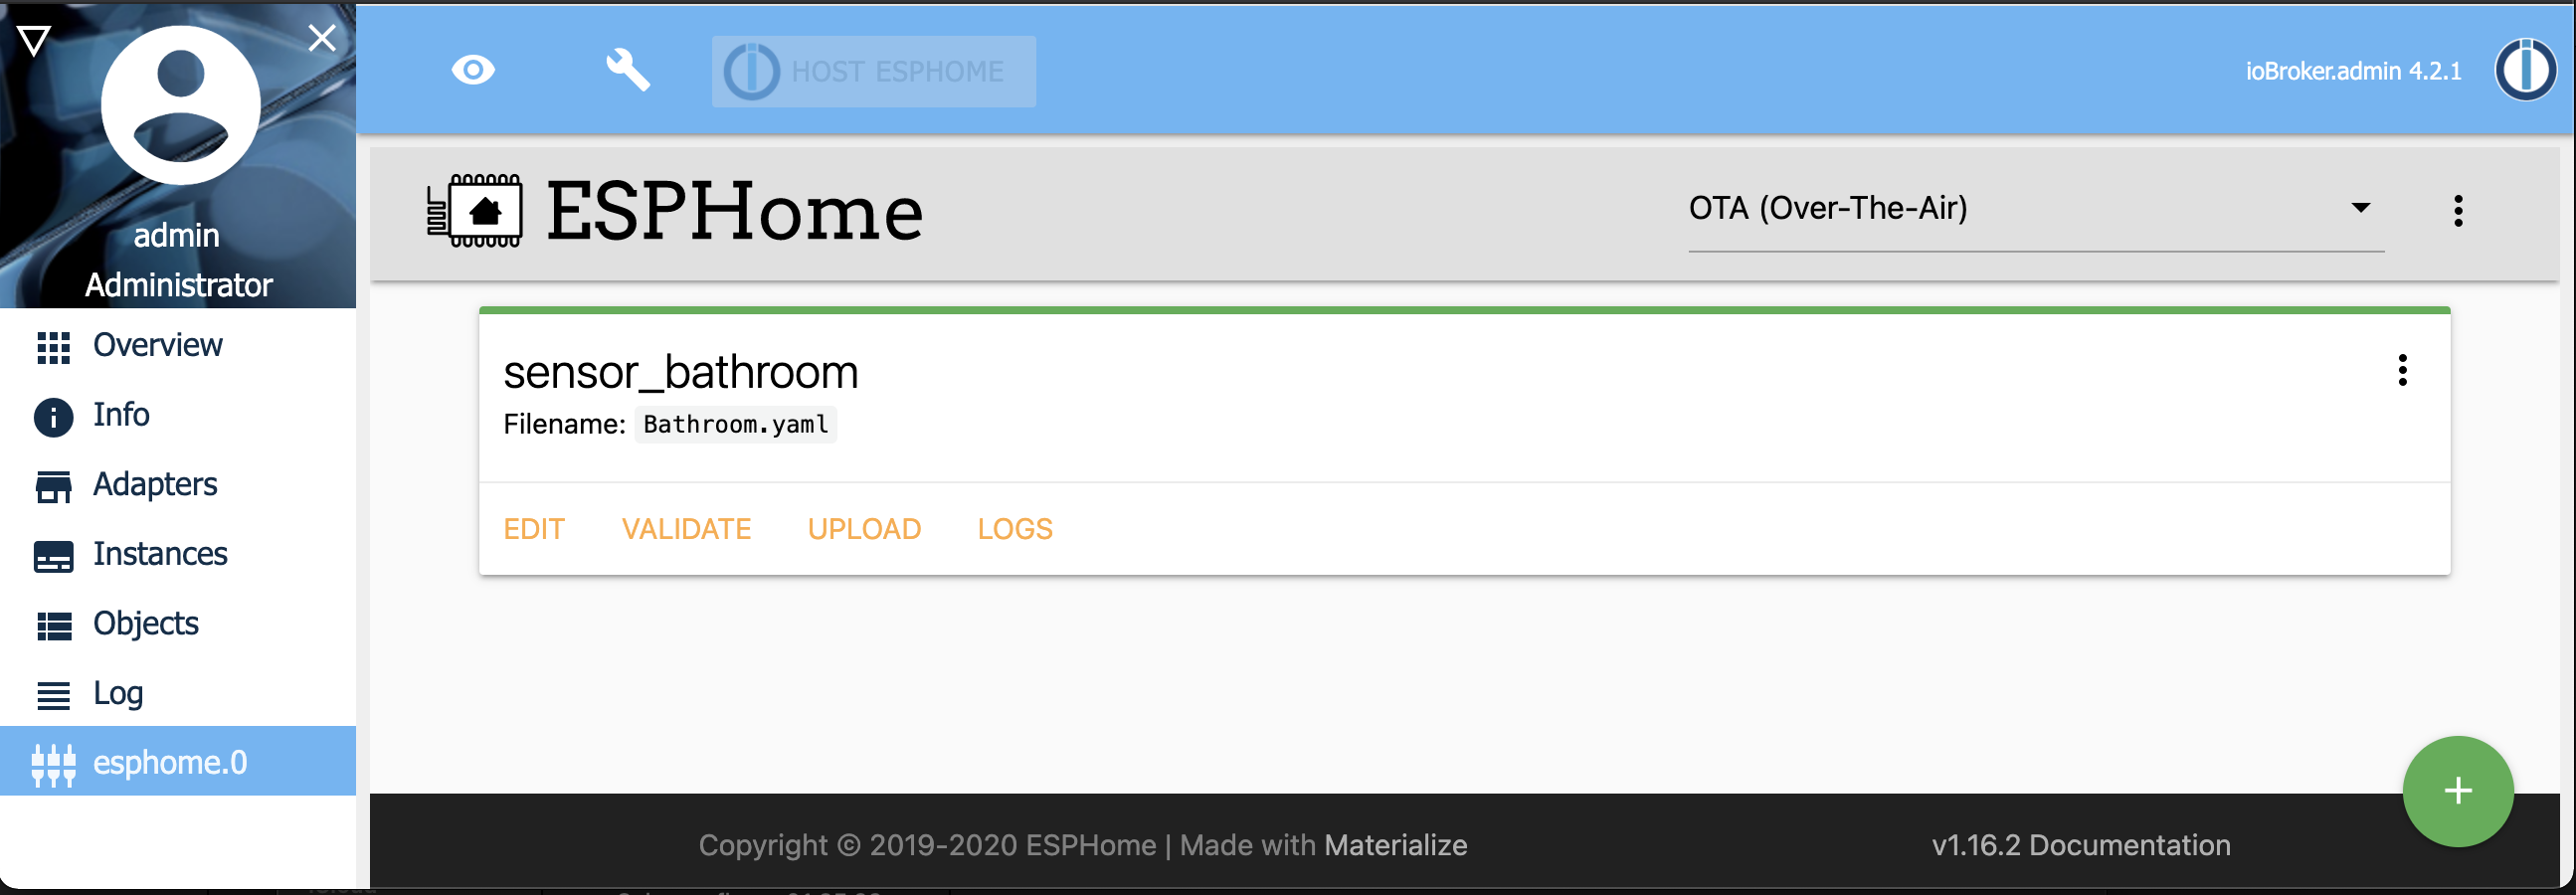
Created configuration (>device<.yaml) files will be stored at
/opt/iobroker/node_modules/iobroker.esphome/config/>device<.yaml
